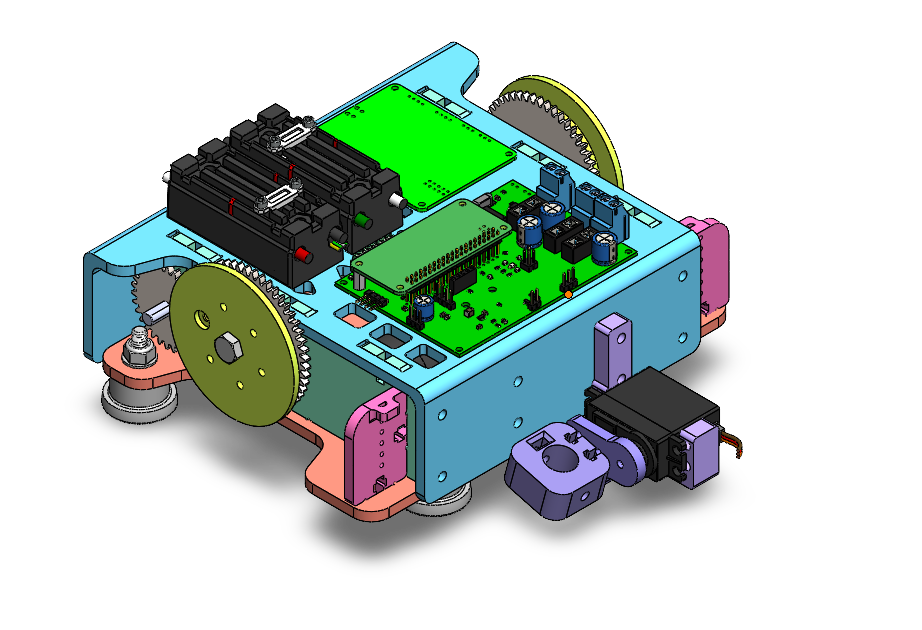
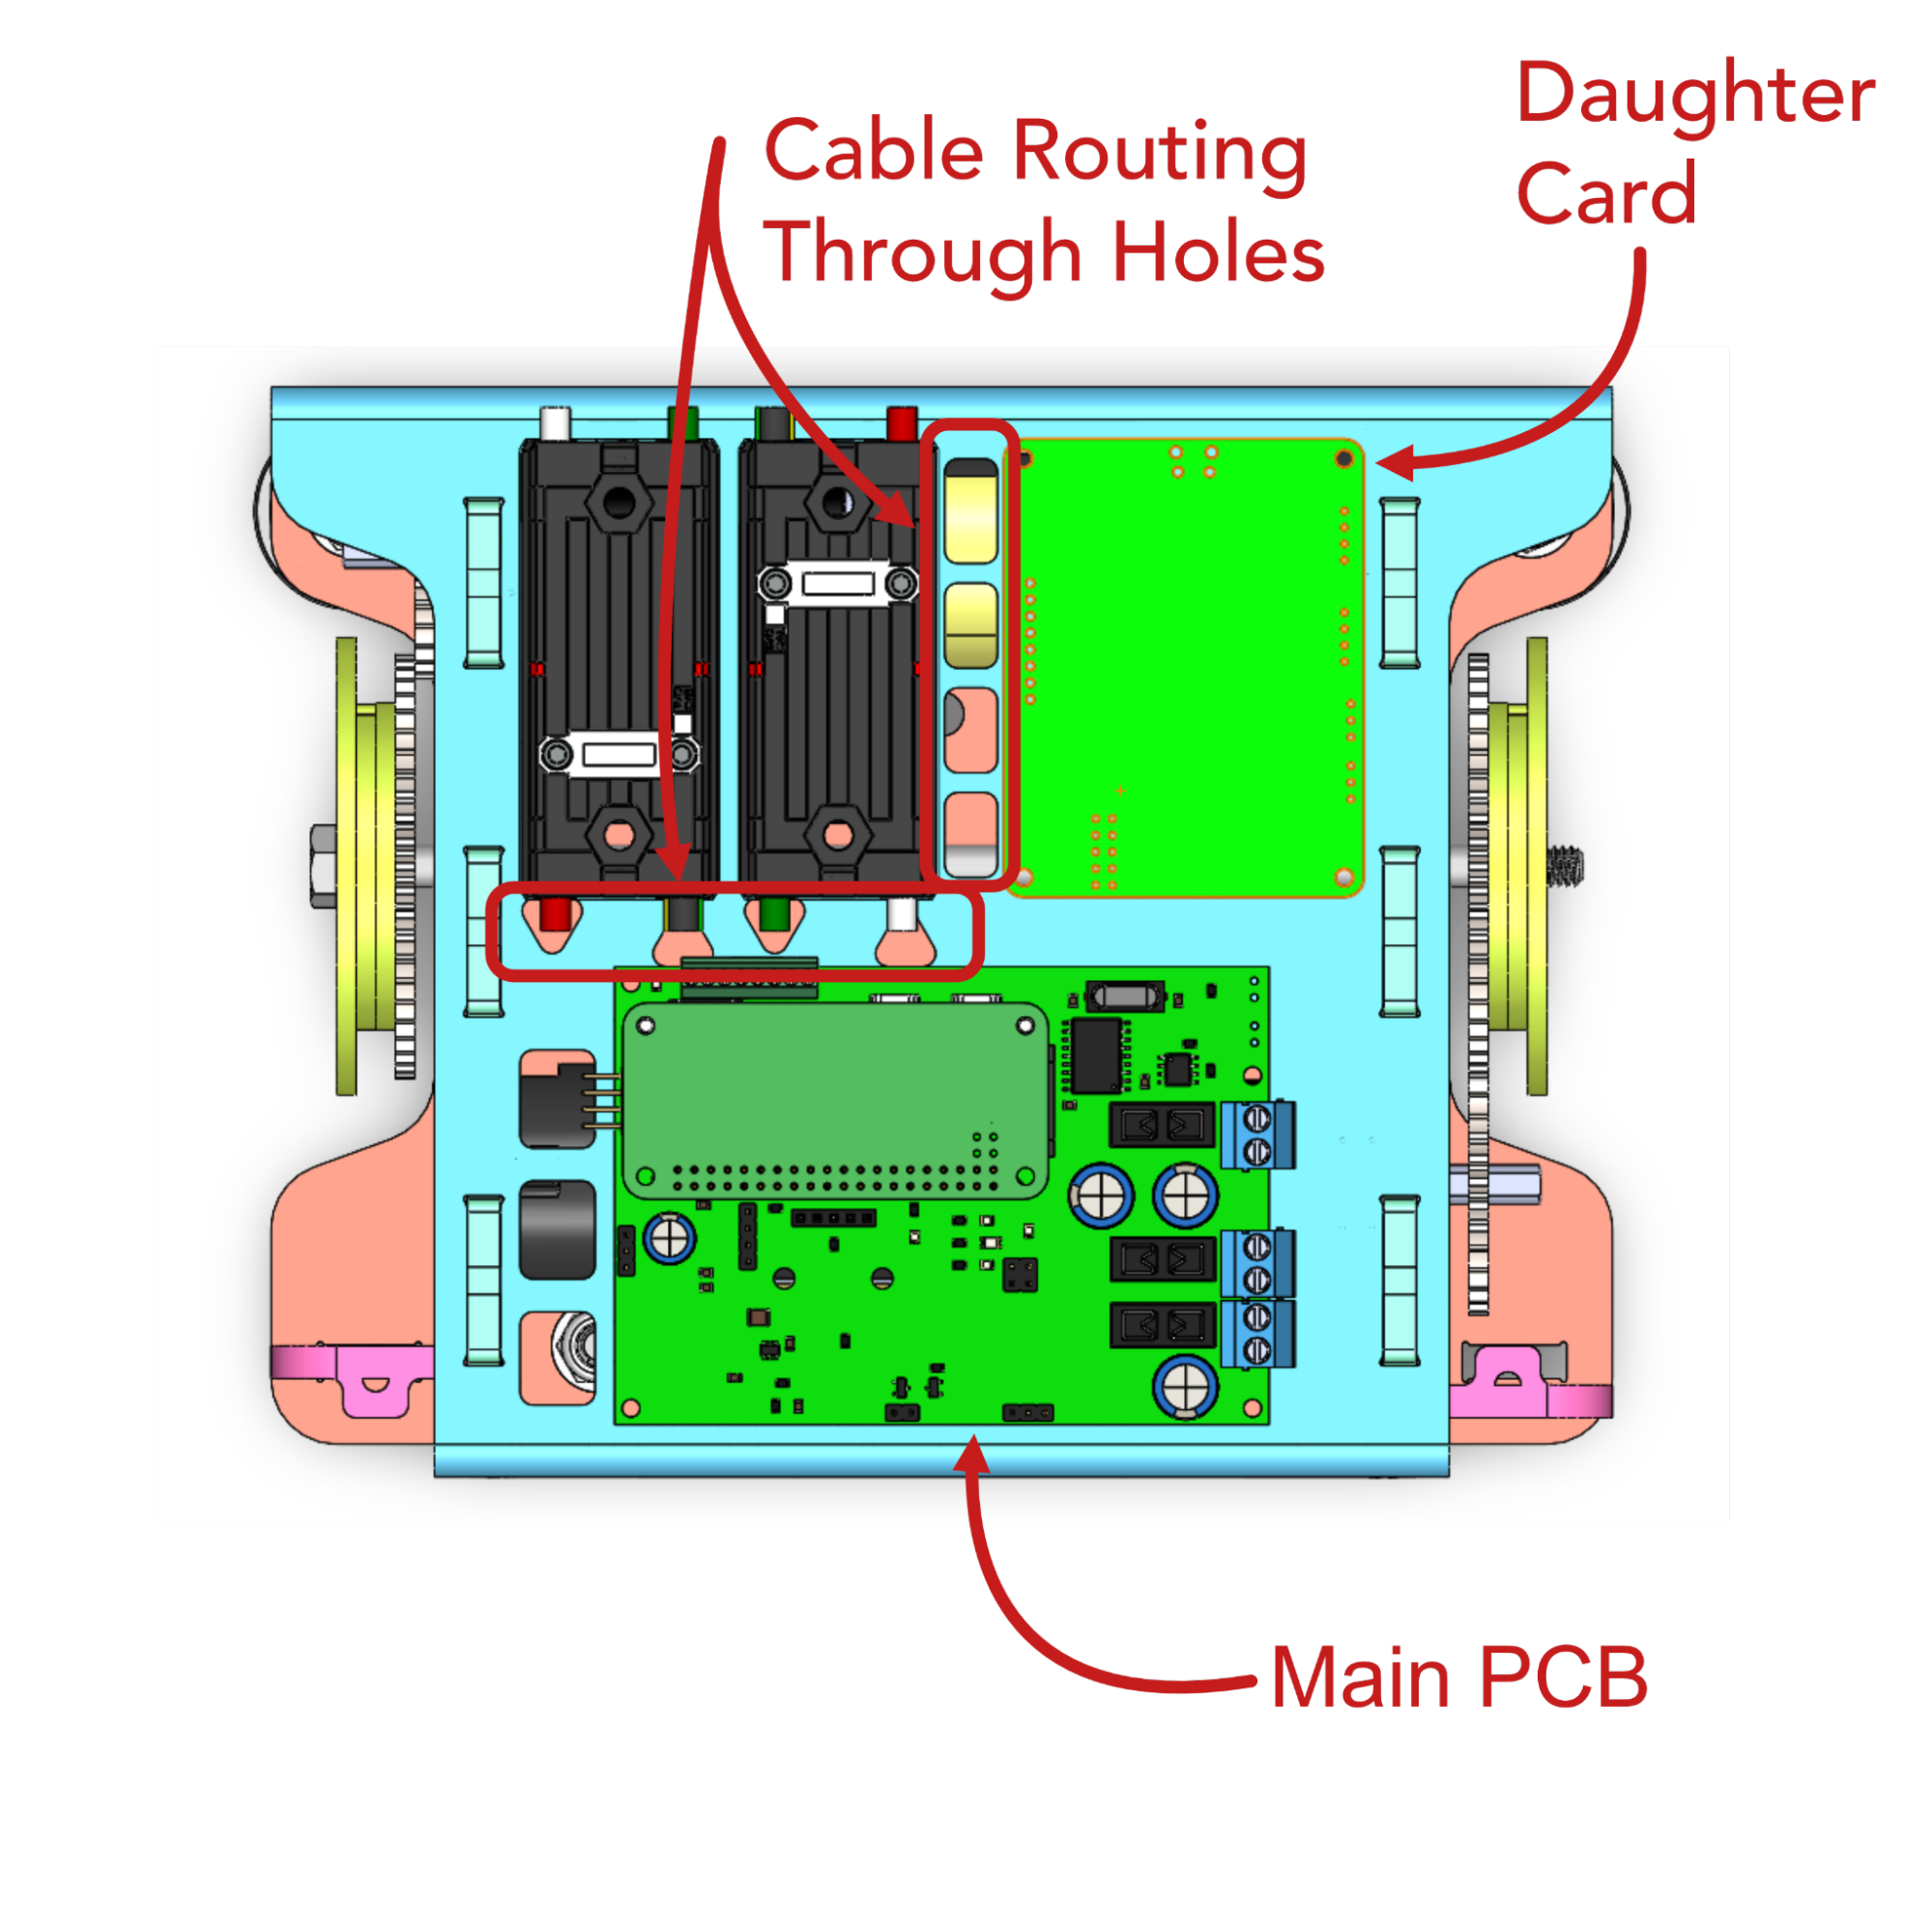
Electronics Mounting
Since the electronics have been finalised and testing is about to begin the top electronic mounting plate and end effector mechanism must be designed. Starting with the electronic mounting, there needs to be mounting holes provided on the top plate and through holes that allow both the motor power cables and speed controller cables to be routed through. The layout is shown in the figure below.
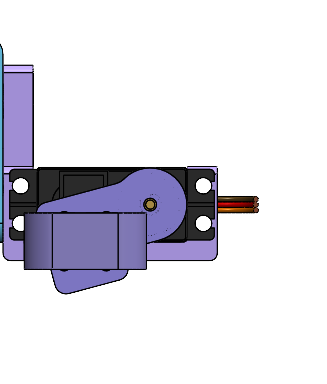
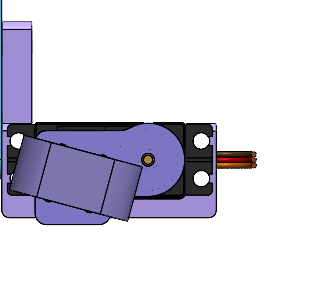
Next, the servo actuated marker mechanism was designed from a top down approach to ensure it made horizontal contact with the drawing surface. Mounting holes were added onto the electrical plate so the mechanism could be attached. The assembly is shown below and is attached to the main body with 2x M4 bolts.